Координатно-измерительные машины HEXAGON LEITZ PMM-C LINE - страница 11
Навигация
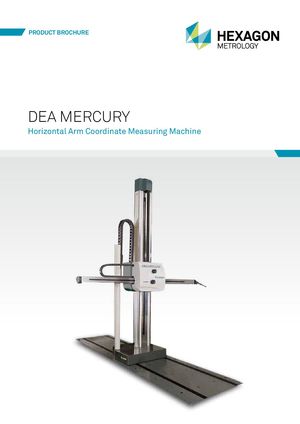 Координатно-измерительные машины HEXAGON серии DEA MERCURY
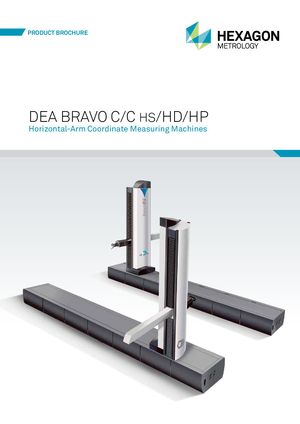 Координатно-измерительные машины HEXAGON серии DEA BRAVO C_C HS_HD_HP
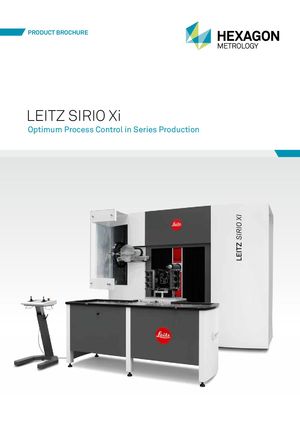 Координатно-измерительные машины hexagon mi Leitz SIRIO Xi
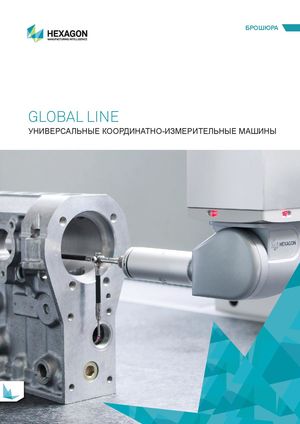 Координатно-измерительные машины hexagon mi GLOBAL LINE
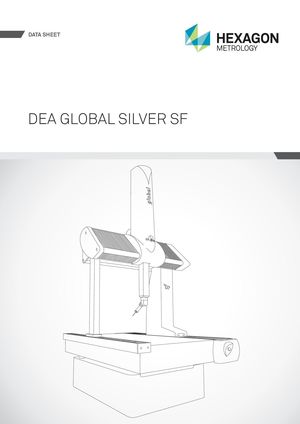 Координатно-измерительные машины HEXAGON серии DEA GLOBAL SILVER SF data sheet
MEASURING IN HIGH-SPEED MODE Exercise control of your processes and quality by using the various scanning methods of the Leitz PMM-C series. Scanning accelerates data acquisition, improves measuring throughput and sup- plies reliable data. All machine components, such as software, electronics and structural construc- tion are designed for high speed. Measuring methods and applications: Variable High-Speed-Scanning Variable High-Speed-Scanning ensures optimum speed based on part tolerances and geometry. The sensor measuring speed increases when moving over slight curvatures and straight lines. It automatically slows down on tight curvatures or tolerances. Helpful in the measurement of holes, turbines, gear teeth and stepping gears. Unknown contours and free-form surfaces All Leitz PMM-C models are suitable for measuring the contours of parts for which no reference model is available. This measuring method is used for reverse engineering. Typical examples include the measuring of gear teeth, cams, bolts and compressors. Self-centering 3D scanning Self-centering 3D scanning eases the task of measuring recesses and grooves. For accurate measurement results, the stylus ball is guided along the centre of the deepest part of the groove regardless of direction. Measuring with a rotary table Most geometries can be measured by the Leitz PMM-C series without using a rotary table. However, a rotary table can be essential depending on the accessibility of certain features or if the number of probes required becomes impractical. The Leitz rotary tables developed by Hexagon Metrology inte- grate seamlessly into the Leitz PMM-C models, forming a single unit with the coordinate measuring machine. The complete system adjusts its dynamics to the position and weight of the part. LEITZ PMM-C LINE – Coordinate Measuring Machines | 11