Пресеттер MAPAL UNISET-V standard and vison - страница 4
Навигация

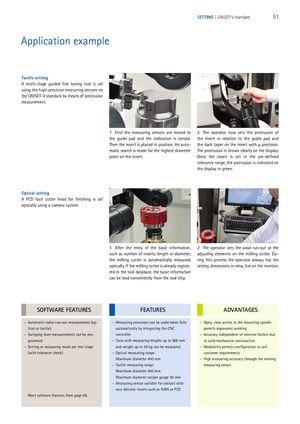
SETTING | UNISET-V standard 51 Application example Tactile setting A multi-stage guided fine boring tool is set using the high-precision measuring sensors on the UNISET-V standard by means of protrusion measurement. 1 First the measuring sensors are moved to 2 The operator now sets the protrusion of the guide pad and the indication is zeroed. the insert in relation to the guide pad and Then the insert is placed in position. An auto- the back taper on the insert with µ precision. matic search is made for the highest diameter The protrusion is shown clearly on the display. point on the insert. Once the insert is set in the pre-defined tolerance range, the protrusion is indicated on the display in green. Optical setting A PCD face cutter head for finishing is set optically using a camera system. 1 After the entry of the basic information, 2 The operator sets the axial run-out at the such as number of inserts, length or diameter, adjusting elements on the milling cutter. Du- the milling cutter is automatically measured ring this process the operator always has the optically. If the milling cutter is already registe- setting dimensions in view, live on the monitor. red in the tool database, the basic information can be read conveniently from the tool chip. SOFTWARE FEATURES FEATURES ADVANTAGES -- Automatic radial run-out measurement (op- -- Measuring processes can be undertaken fully -- Open, clear access to the mounting spindle tical or tactile) automatically by integrating the CNC permits ergonomic working -- Swinging lever measurements can be pro- controller -- Accuracy independent of external factors due grammed -- Tools with measuring lengths up to 800 mm to solid mechanical construction -- Setting or measuring mode per tool stage and weight up to 50 kg can be measured -- Modularity permits configuration to suit (with tolerance check) -- Optical measuring range: customer requirements Maximum diameter 400 mm -- High measuring accuracy through the moving -- Tactile measuring range: measuring sensor Maximum diameter 400 mm Maximum diameter caliper gauge 95 mm -- Measuring sensor suitable for contact with very delicate inserts such as PcBN or PCD More software features from page 68.
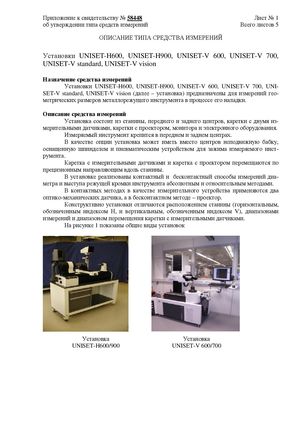
 Пресеттеры MAPAL (Описание типа средства измерений)