Термоусадочное оборудование DIEBOLD - страница 31
Навигация

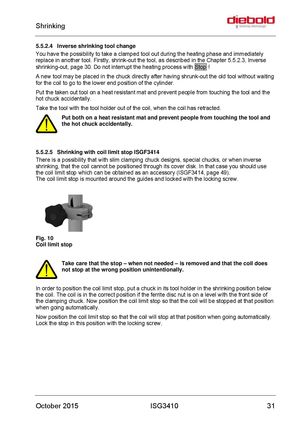
Shrinking 5.5.2.4 Inverse shrinking tool change You have the possibility to take a clamped tool out during the heating phase and immediately replace in another tool. Firstly, shrink-out the tool, as described in the Chapter 5.5.2.3, Inverse shrinking-out, page 30. Do not interrupt the heating process with Stop ! A new tool may be placed in the chuck directly after having shrunk-out the old tool without waiting for the coil to go to the lower end position of the cylinder. Put the taken out tool on a heat resistant mat and prevent people from touching the tool and the hot chuck accidentally. Take the tool with the tool holder out of the coil, when the coil has retracted. Put both on a heat resistant mat and prevent people from touching the tool and the hot chuck accidentally. 5.5.2.5 Shrinking with coil limit stop ISGF3414 There is a possibility that with slim clamping chuck designs, special chucks, or when inverse shrinking, that the coil cannot be positioned through its cover disk. In that case you should use the coil limit stop which can be obtained as an accessory (ISGF3414, page 49). The coil limit stop is mounted around the guides and locked with the locking screw. Fig. 10 Coil limit stop Take care that the stop – when not needed – is removed and that the coil does not stop at the wrong position unintentionally. In order to position the coil limit stop, put a chuck in its tool holder in the shrinking position below the coil. The coil is in the correct position if the ferrite disc nut is on a level with the front side of the clamping chuck. Now position the coil limit stop so that the coil will be stopped at that position when going automatically. Now position the coil limit stop so that the coil will stop at that position when going automatically. Lock the stop in this position with the locking screw. October 2015 ISG3410 31
 Термоусадочные машины DIEBOLD серии ISG 3430 TLK
 Термоусадочные машиныDIEBOLD серии ISG 3430 WK
 Термоусадочные машины DIEBOLD серии ISG 2430 TWK
 Термоусадочное оборудование DIEBOLD серии ISG 2430 WK
 Термоусадочное оборудование DIEBOLD серии ISG 2430 TLK